This tutorial teaches you how to create a basic automation project in StudioX in a few minutes and run it on your machine.
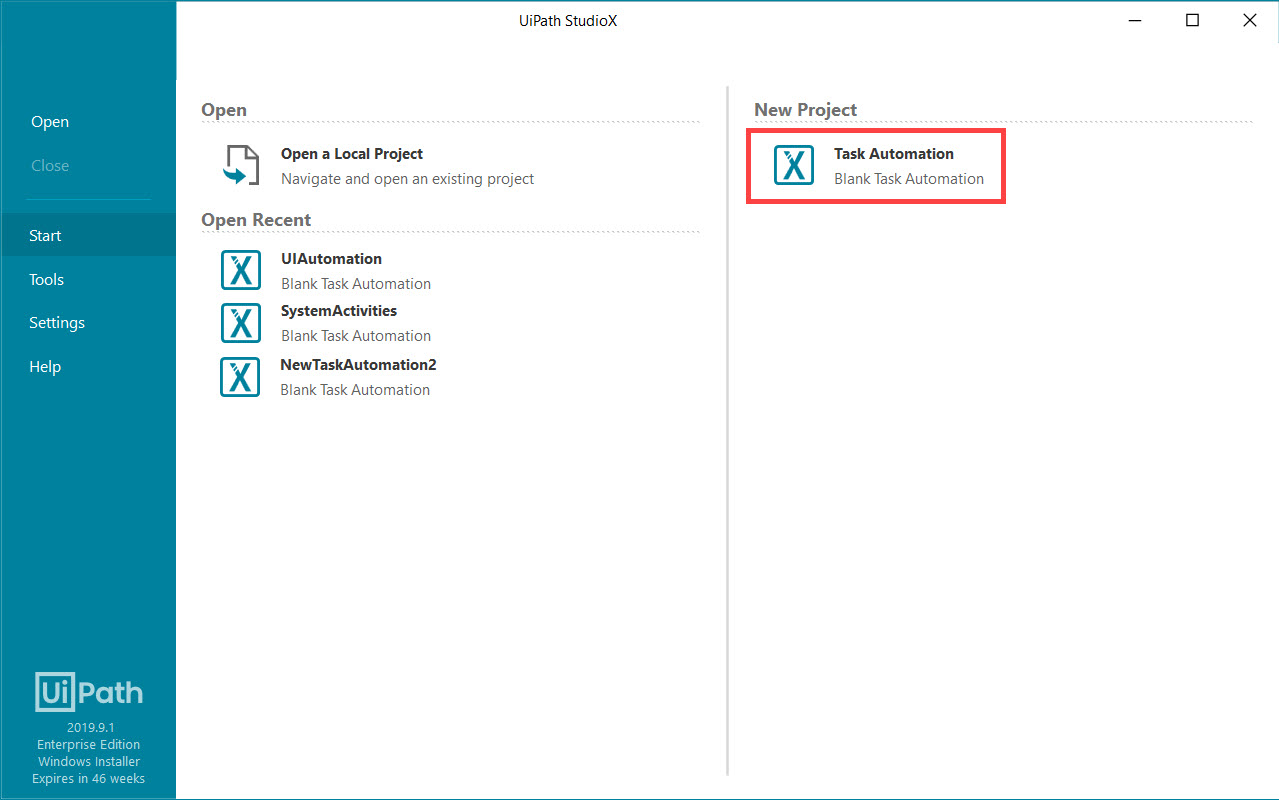
- In StudioX Backstage View, select the Start tab and then, under New Project, select Task Automation. The New Task Automation window is displayed.

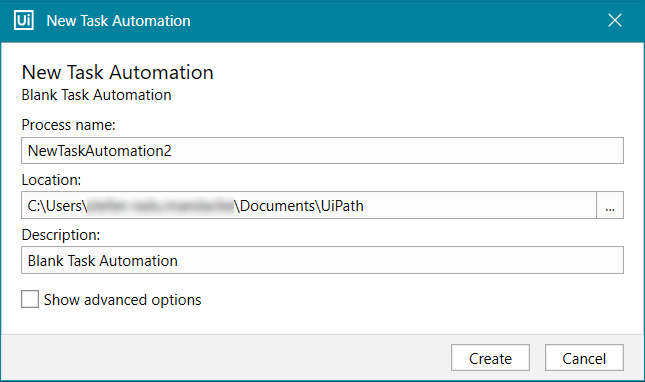
- Provide the following information:
- Process name - Enter a name for the automation project. We recommend using a name that describes the automation you are going to create, as this will make it easier for you to identify this project among others later.
- Location - Browse to a location on your hard drive where to create the process. The default location is
%USERPROFILE%\Documents\UiPath. - Description - Optionally, enter a brief description to provide more details about the process.

- (Optional) Select Show advanced options to configure the project settings. If you don't select this option, the project is created with the default settings.
- Indicate the Excel file you want to use - Indicate an Excel file to use as the Excel Workspace, a scratchpad for Excel data to use in the project. By default, a file named
Excel_Workspace.xlsxis created in the project folder. You can edit the file name, browse to a different folder where to create it, or select an existing Excel file. - And give it a name for later - Enter a name under which to refer to the Excel file in the project when an activity interacts with it. The default name is
Excel. - Access password - If applicable, enter the password required to open the file.
- Editing password - If applicable, enter the password required to edit the file.
- Autosave file - Select this option if you want the workbook to be saved every time an activity makes a change to it during project execution. Otherwise, the changes are saved only when the execution ends. This option is not selected by default.
- Create new file - Select this option if you want StudioX to create the Excel file when the project runs if the file does not already exist. This option is selected by default.
- Read only - Select this option if you want the process to open the file in read-only mode. This allows you to perform data extraction operations if the file is locked for editing or has an edit password. This option is not selected by default.
- Open Excel at runtime - Select this option if you want the Excel file to be opened when the project is executed. Otherwise, all operations are performed in the background without opening the file. This option is selected by default.
- Indicate the Excel file you want to use - Indicate an Excel file to use as the Excel Workspace, a scratchpad for Excel data to use in the project. By default, a file named
- Click Create to create the project.
The project is created and a blank workflow is displayed in the Designer panel. You can now start building your automation by adding activities. You can add activities from the Activities panel on the left by double-clicking them or dragging and dropping them on the Designer panel, or by clicking at the center of the Designer panel. Let's create a simple automation that displays a message box.
 - Click the
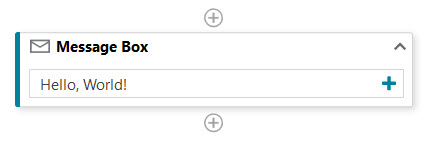
 icon at the center of the Designer panel, and then find the Message Box activity in the search box at the top of the screen and double-click it. A Message Box activity is added to the Designer panel.
 - In the Message Box activity, click
 next to the Message field and then select Text. The Text Builder window is displayed.
 - Enter the text
Hello, World!and then click Save. The text you entered appears in the activity.

- Click Save in the ribbon menu to save the project, and then click Run to execute the automation.
A message box appears on the screen displaying the message "Hello, World!".
Congratulations! You have just created your first automation. Next, let's go over a few tutorials to learn more about what StudioX can do.
Updated 2 years ago