All procedures described below are audited. You can find the specifics in terms of action, component, as well as time interval, on the Audit page.
Creating a Tenant
From the Login Page
Important!
The Become a tenant option is displayed only if the Enable tenant registration check box is selected in the host Settings page.
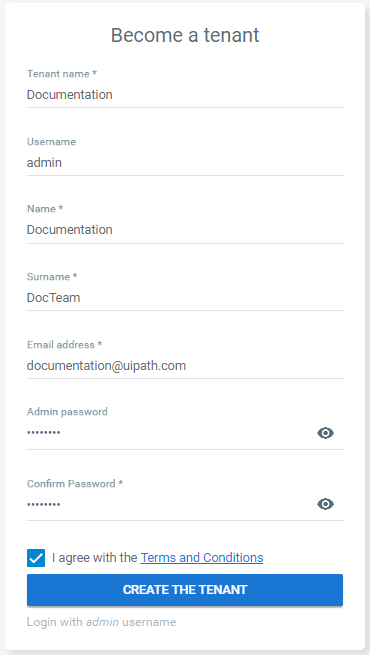
- In the Login page, click Become a tenant. The Become a Tenant page is displayed.
- Fill in the required fields (Tenant Name, Username, Name, Surname, Email Address, Admin Password, and Confirm Password). Please note that the tenant name cannot be changed after you create the tenant.
Note:
The username (admin) cannot be changed.
- Click Create the tenant. You are logged in to Orchestrator as the admin of this new tenant.
Important!
If you are a Community Edition Orchestrator user, you also need to create your own feed in MyGet, and provide the URL feed and its API key on the Deployment tab, in the Settings page.
If you use a private MyGet feed, please use the URL provided under Your pre-authenticated V2 URL (no basic authentication). Please note that this is not a free service from MyGet.
As a Host Admin
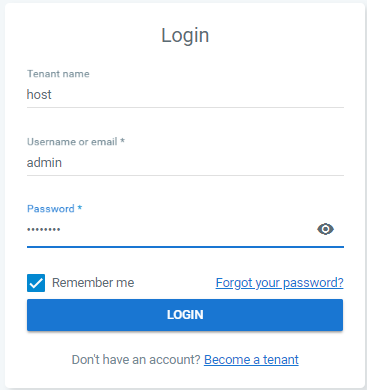
- In the Login page, use the host admin credentials to log in.
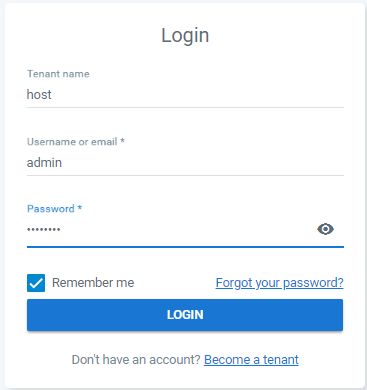
- Click Login. The Tenants page is displayed.
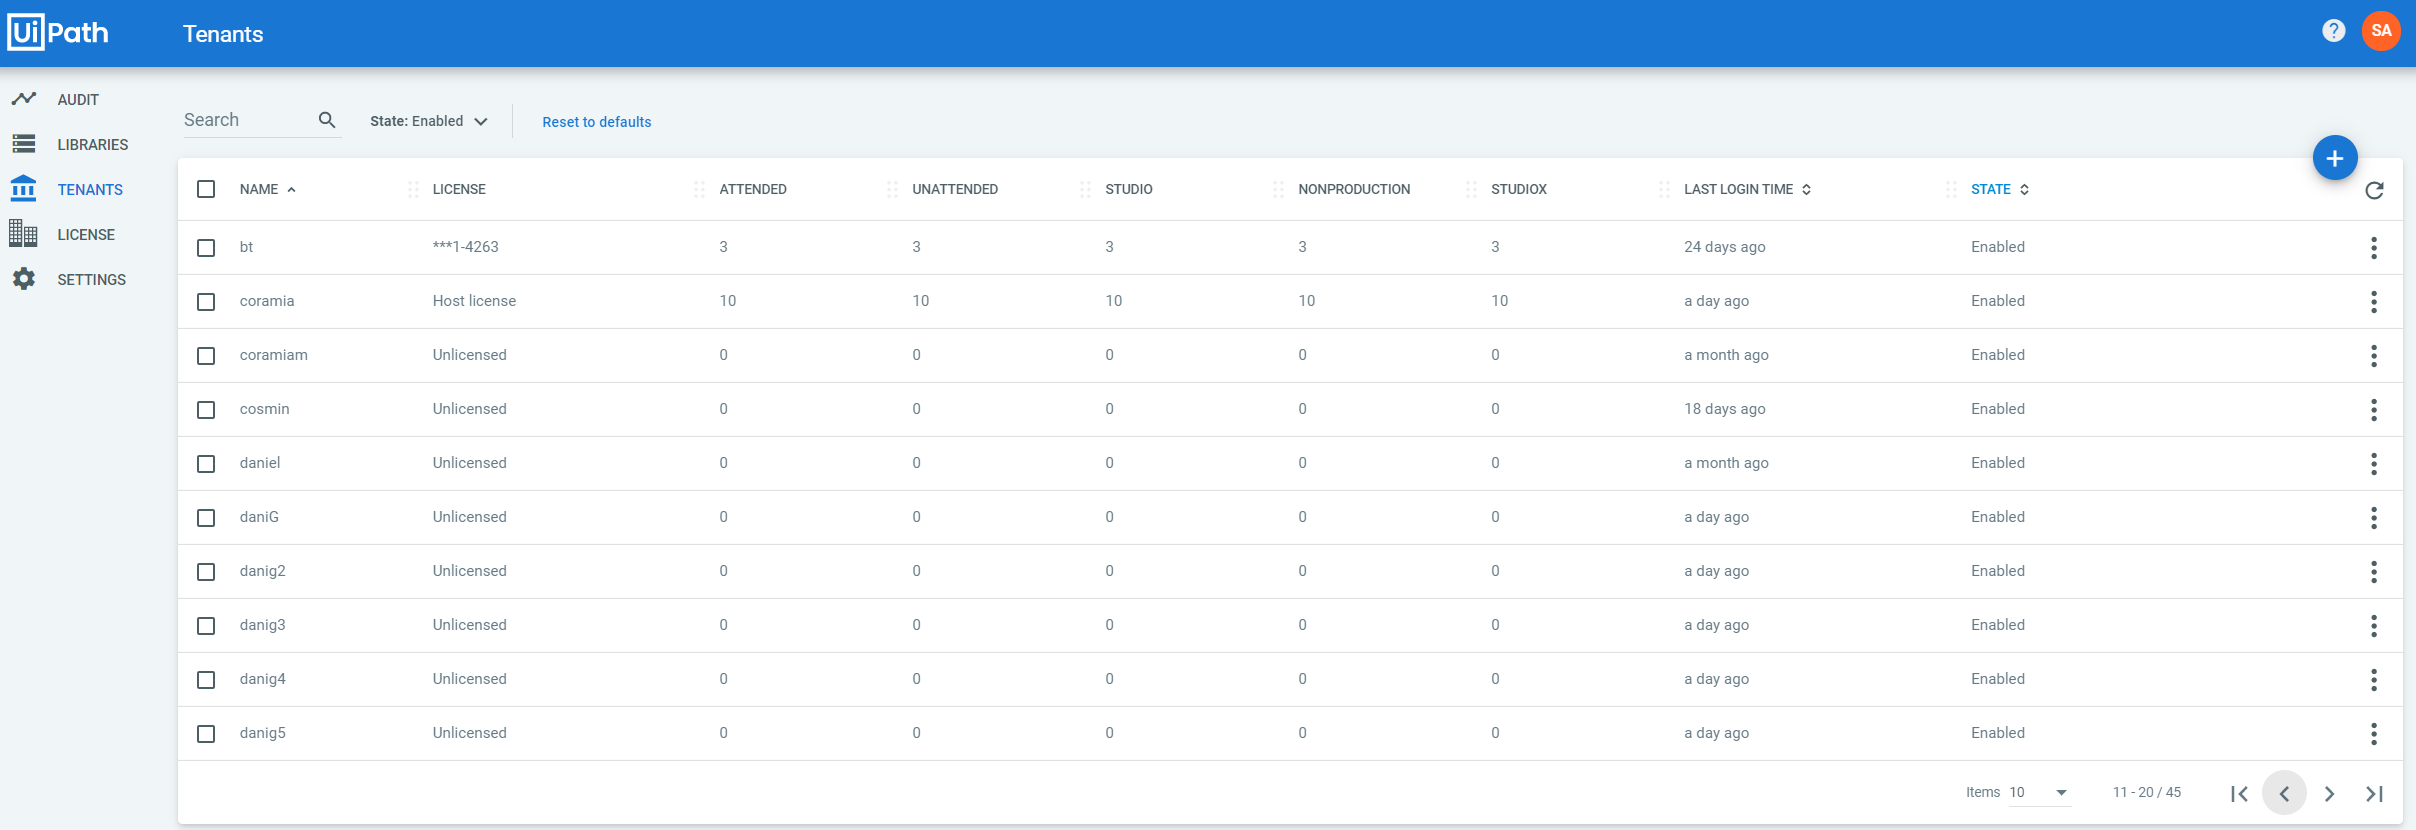
- Click Add Tenant. The Provision Tenant window is displayed.
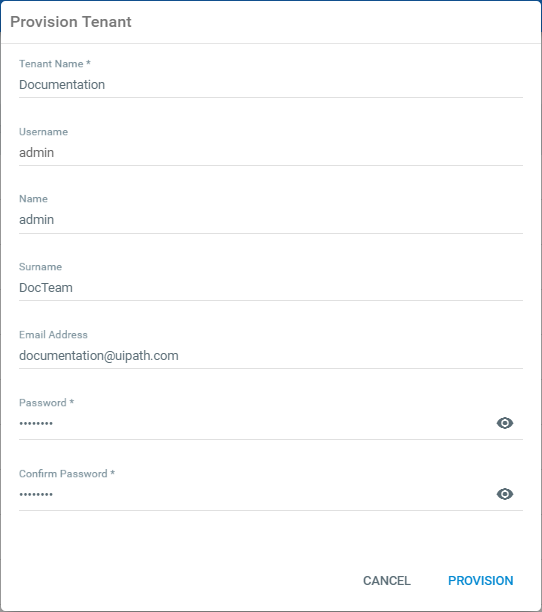
4, Fill in the required fields (Tenant Name, Password and Confirm Password).
Note:
The username (admin) cannot be changed.
- (Optionally) Fill in the Name, Surname, and Email Address fields.
- Click Provision. The tenant and tenant admin are created and displayed in the Tenants page.
Note:
The tenant administrator is a local user called admin. It is automatically created with the Administrator role when you add a new tenant, with the password and email address you provided in the Provision Tenant window.
Changing the System Administrator Password
Note:
The host admin password must contain at least one number and one uppercase and lowercase letter, and at least 8 or more characters by default. The password complexity can be edited by changing the settings in the Security tab, in the Settings tab.
- In the Login page, use the host admin credentials to log in.
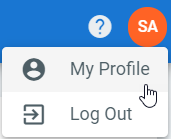
- Click User > My Profile. The Profile window is displayed.
- In the Security section, fill in the Current Password field with the initial password that was communicated to you.
- In the New Password and Confirm Password fields, type a new password.
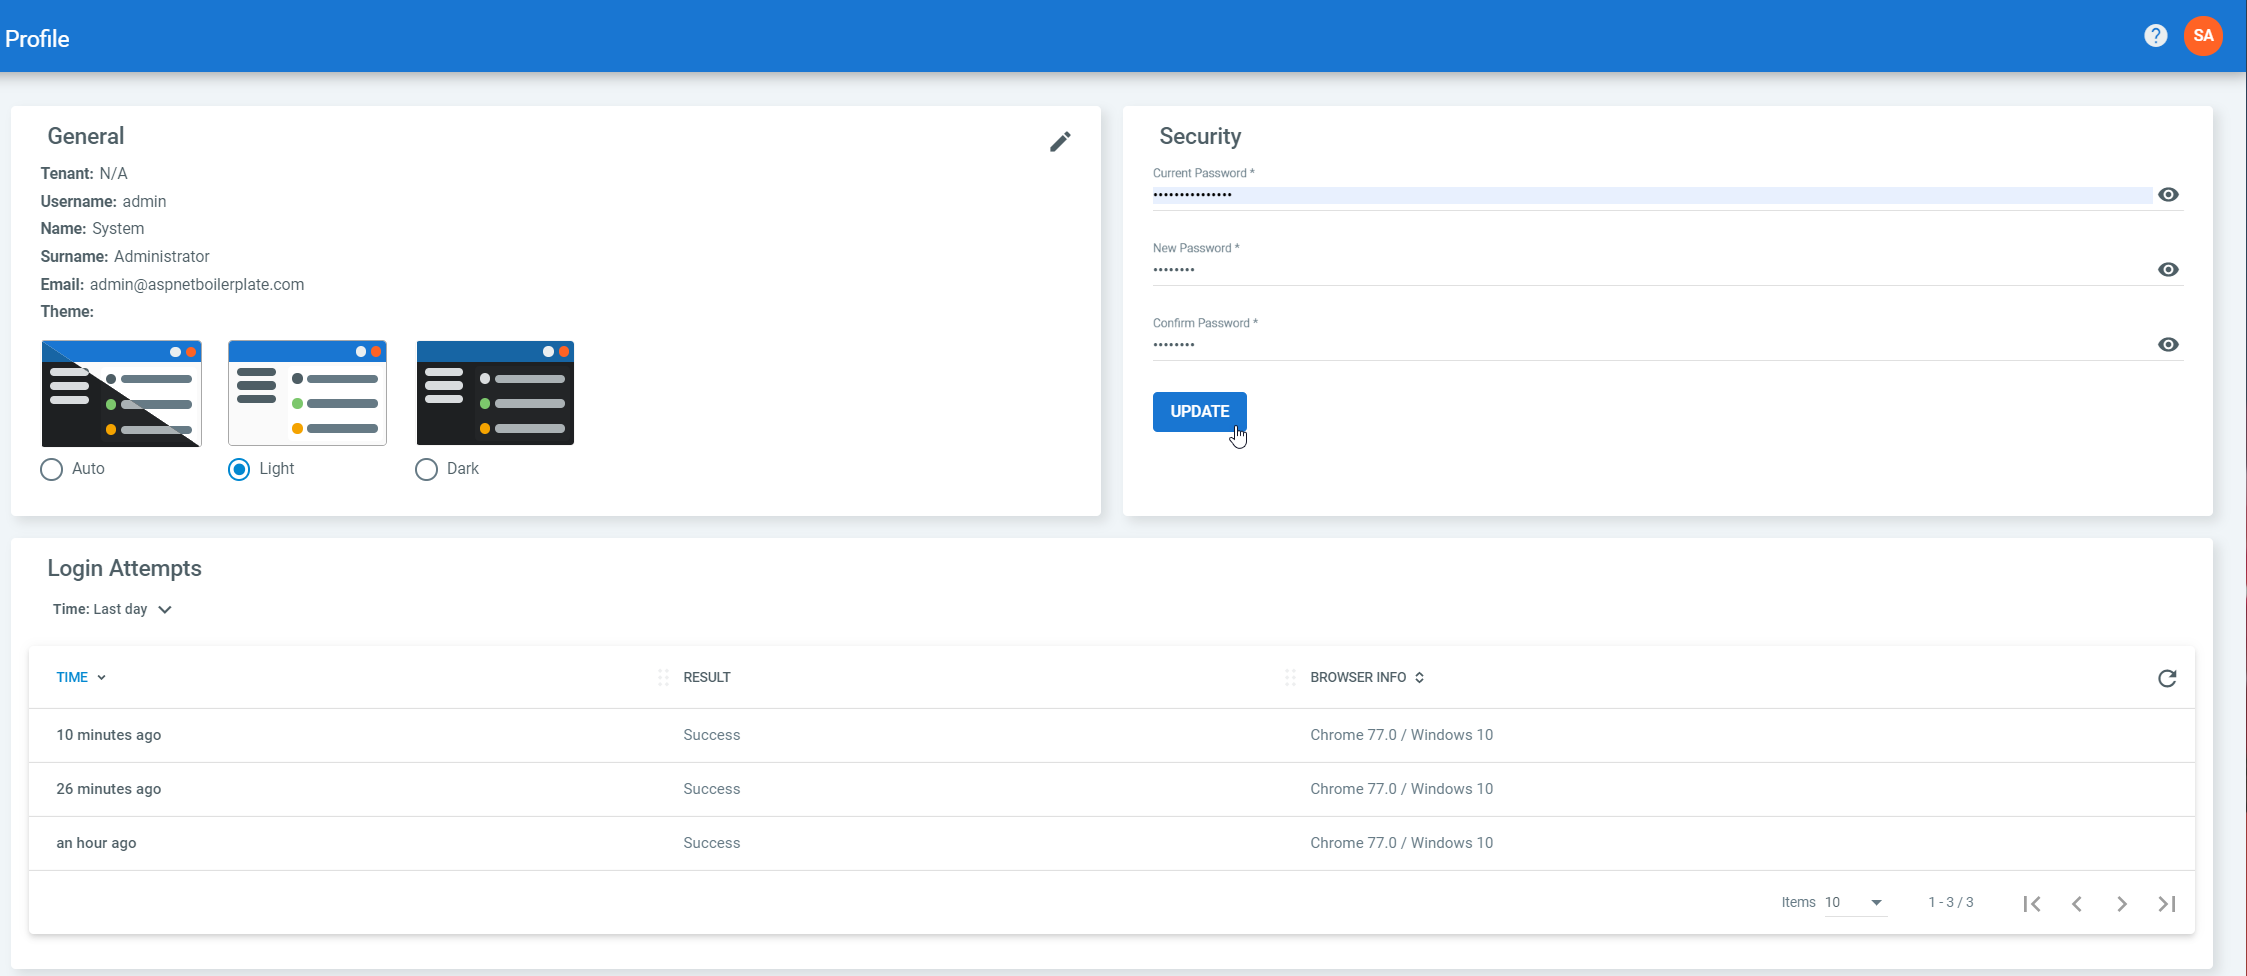
- Click Update. The new password is saved.
Disabling Tenants
Remove licenses before disabling a tenant
If you intend to disable a tenant, remove the license allocation for the tenant prior to disabling it. Otherwise, the licenses are not returned to the license pool and you cannot use them for other tenants.
To disable one single tenant, in the Tenants page, click More Actions and select Disable.
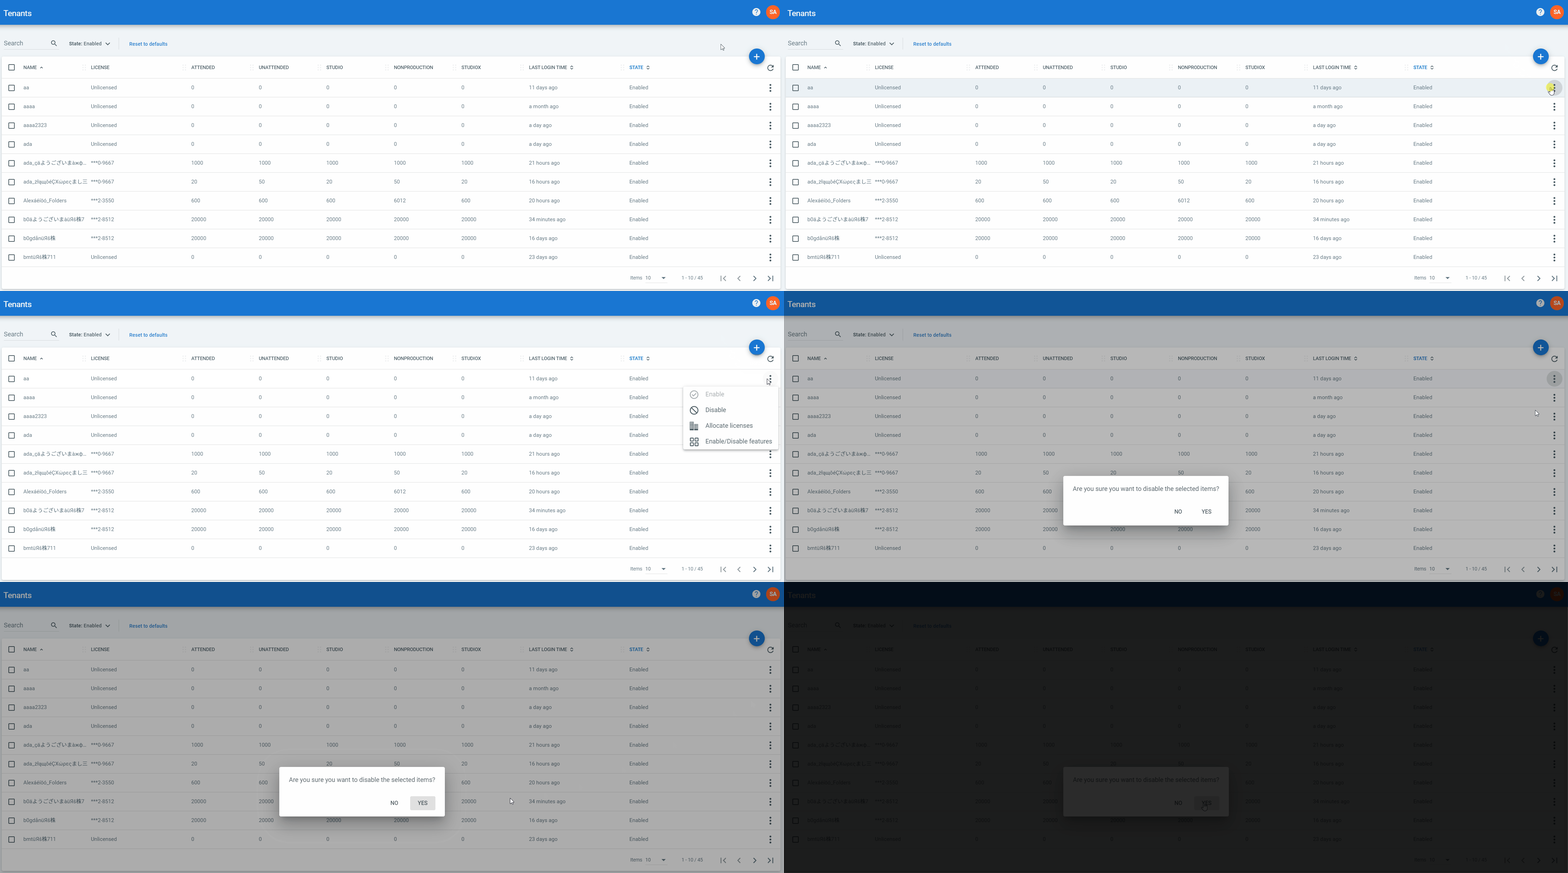
To disable multiple tenants, select the tenants you no longer need and click Disable the selected tenants.
Enabling Tenants
To enable one single tenant, in the Tenants page, click More Actions and select Enable.
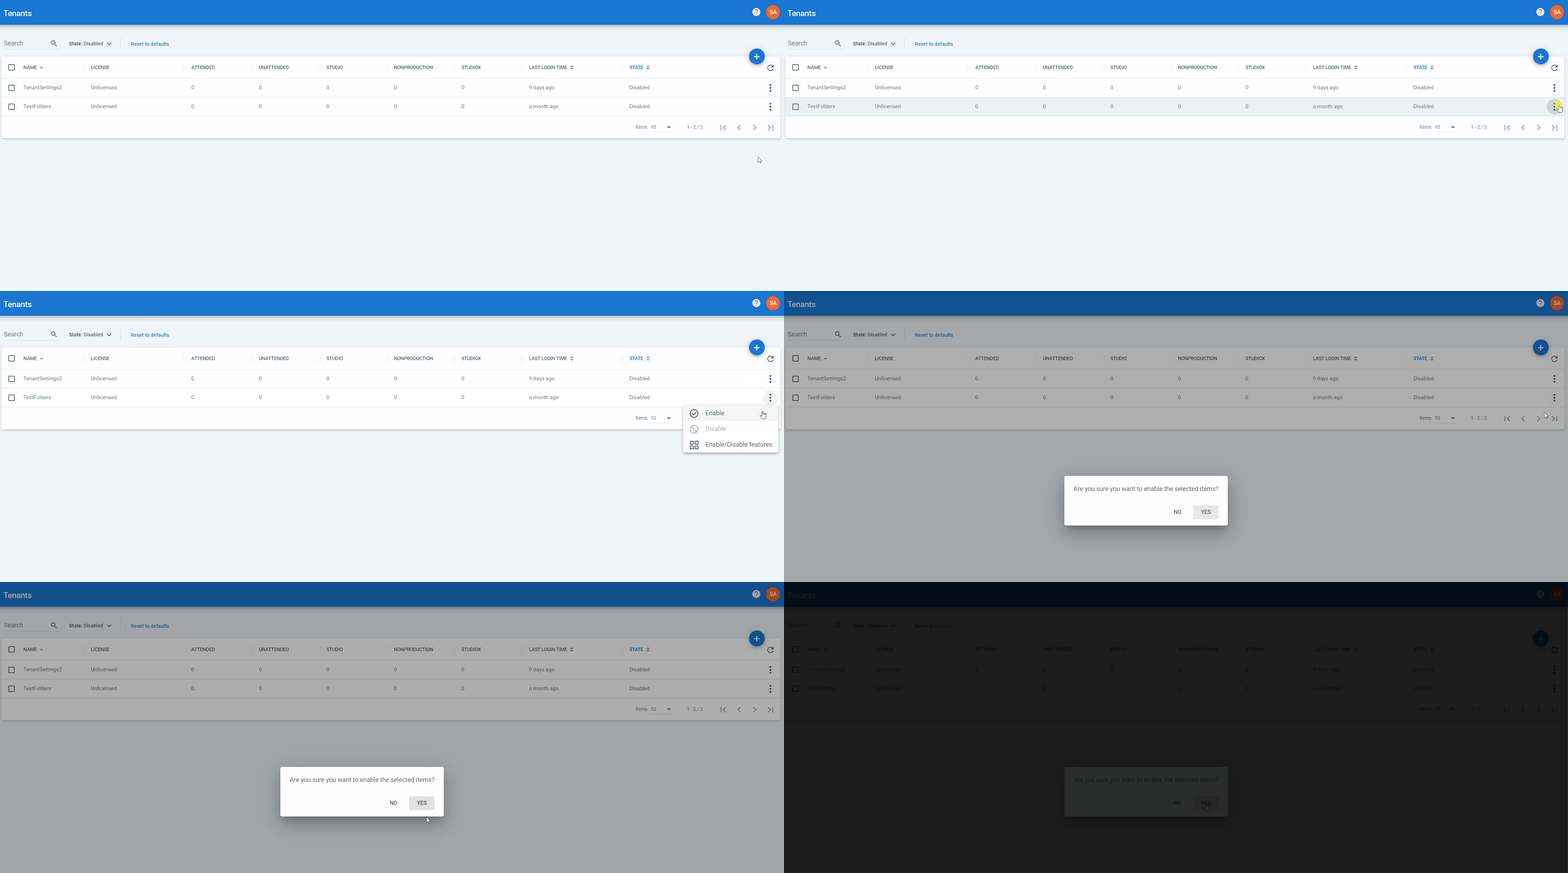
To enable multiple tenants, select the desired tenants and click Enable the selected tenants.
Enabling/Disabling Features
- Log in as a system admin.
- On the Tenants page, click More Actions and select Enable/Disable features for the tenant of which you want to modify the enabled features. The Feature Flags window is displayed.
- Select the features you want to enable on your tenant, or clear the ones you want to disable.
- Click Update for your changes to take effect.
Alternatively, select multiple tenants and click the Enable/Disable Features for Selected Tenants button. Please note that, until configured differently, all features are enabled by default for both new tenants and existing ones.
Enabling the Become a Tenant Option in the Login Page
- Log in as a host admin.
- Click Settings. The Settings page is displayed.
- On the Application tab, select the Enable tenant registration. The Become a Tenant button is now displayed on the login page of your Orchestrator instance.
Updated 10 months ago