Configure PingOne to Recognize a New Orchestrator Machine
Note:
The following steps are valid for PingOne SAML setup. Please note that the procedure is a broad description of a sample configuration. For a fully detailed how-to, visit the official PingOne Documentation.
- Log in to the PingOne Administrator Console.
- On the Applications tab, click + Add Application. A new window opens.

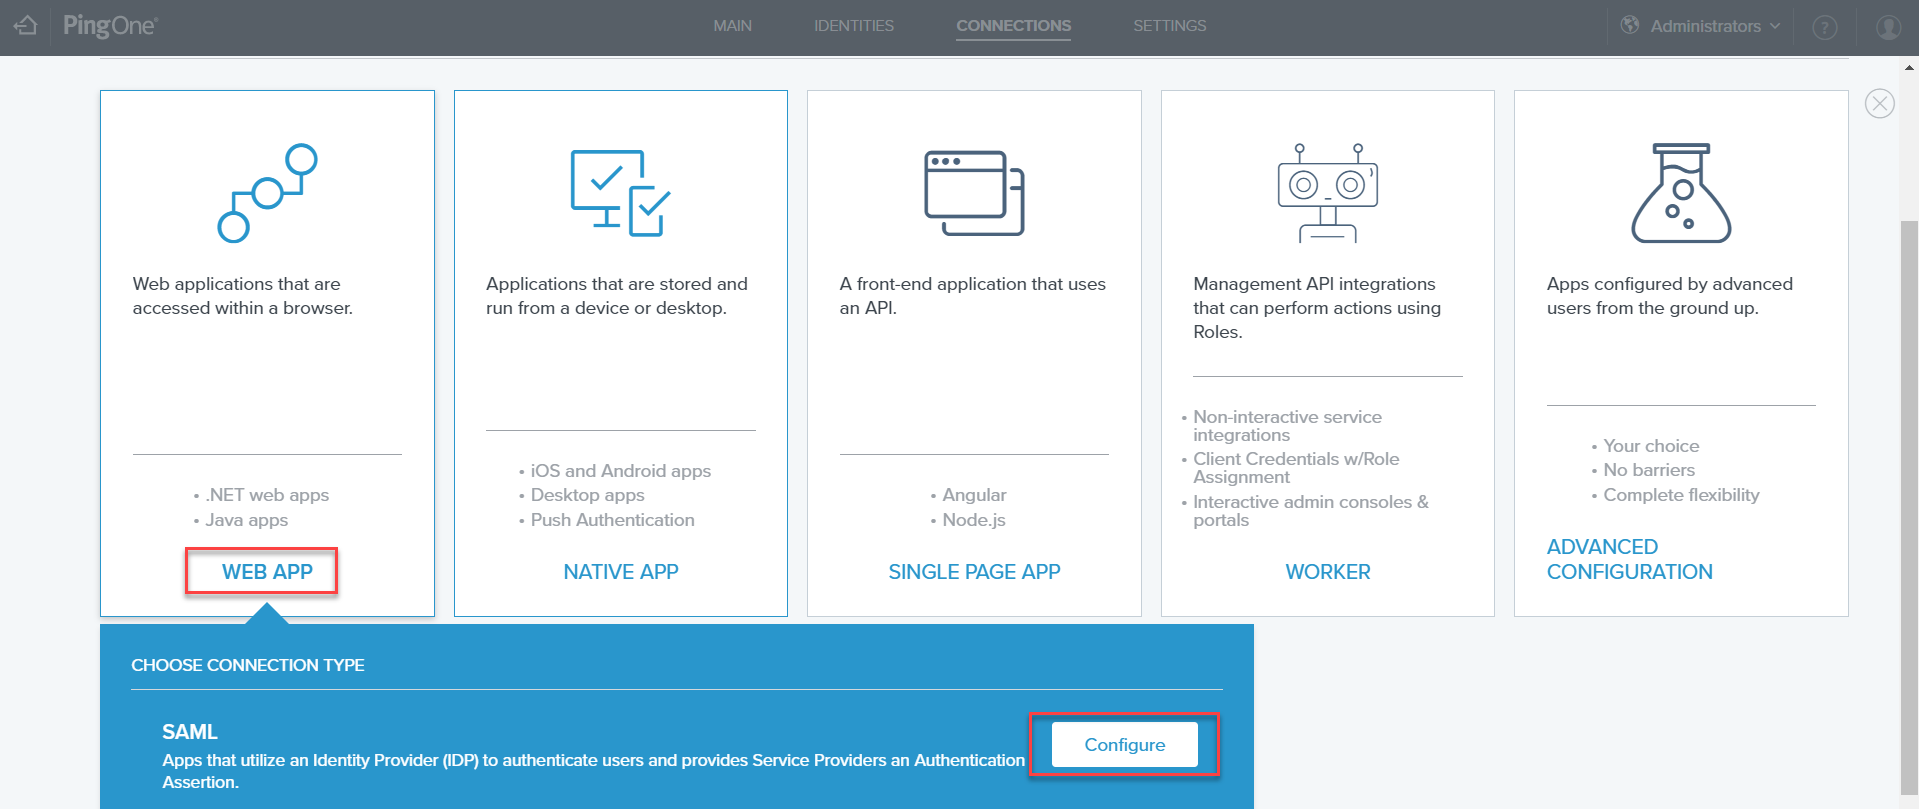
- Select WEB APP, and click the Configure button in the SAML box.
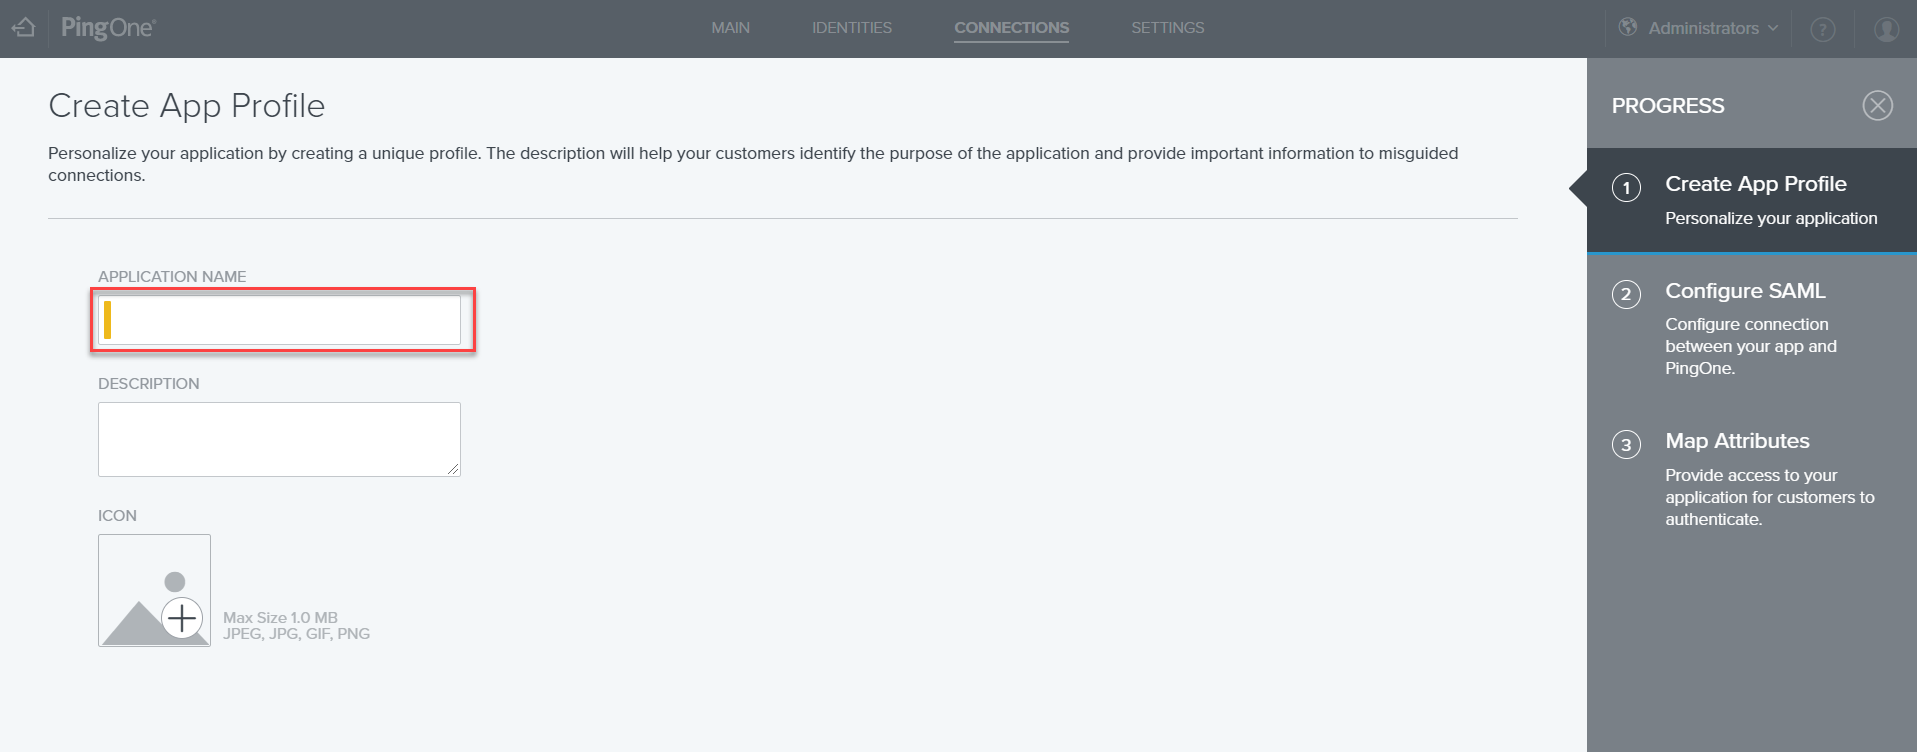
- On the Create App Profile page, enter an application name in the dedicated field, and click the Next button.
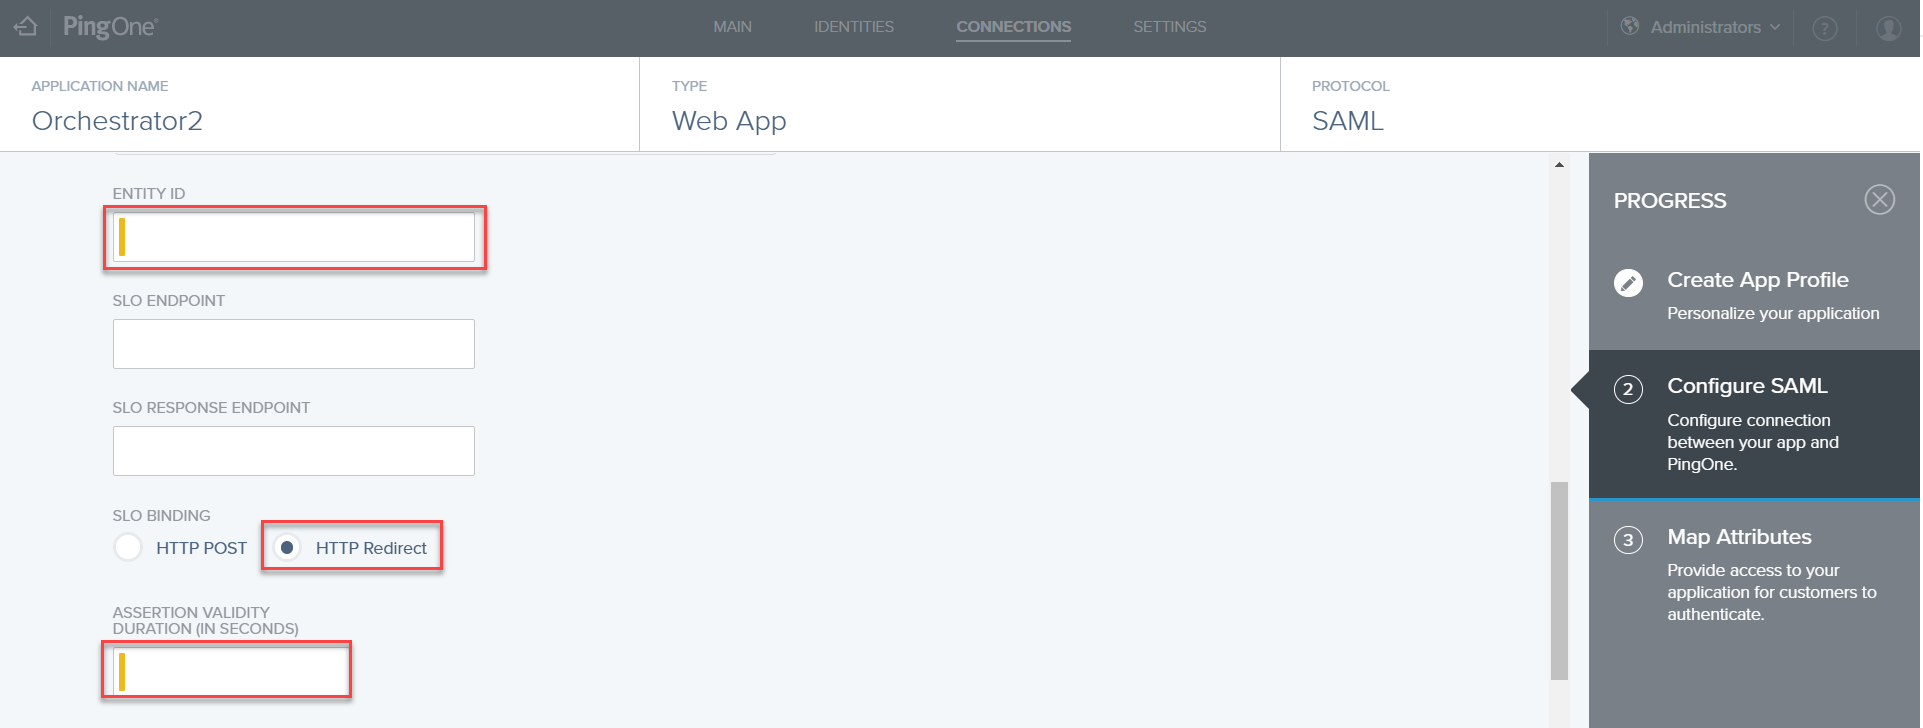
- On the Configure SAML page, specify the ACS URL by filling in the URL of the Orchestrator instance plus the suffix
Saml2/Acs. For instance:https://orchestratorURL/Saml2/Acs. Keep in mind that the ACS is case sensitive. - Scroll down the Configure SAML page, and set the Entity ID to
https://orchestratorURL. - On the same page, select HTTP Redirect as your SLO binding.
- In the Assertion Validity Duration field, enter the desired validity period in seconds, and press Next.
- On the Map Attributes page, map the following attribute:
Email Address =http://schemas.xmlsoap.org/ws/2005/05/identity/claims/emailaddress

- Click Save and open the app from the Connections tab.

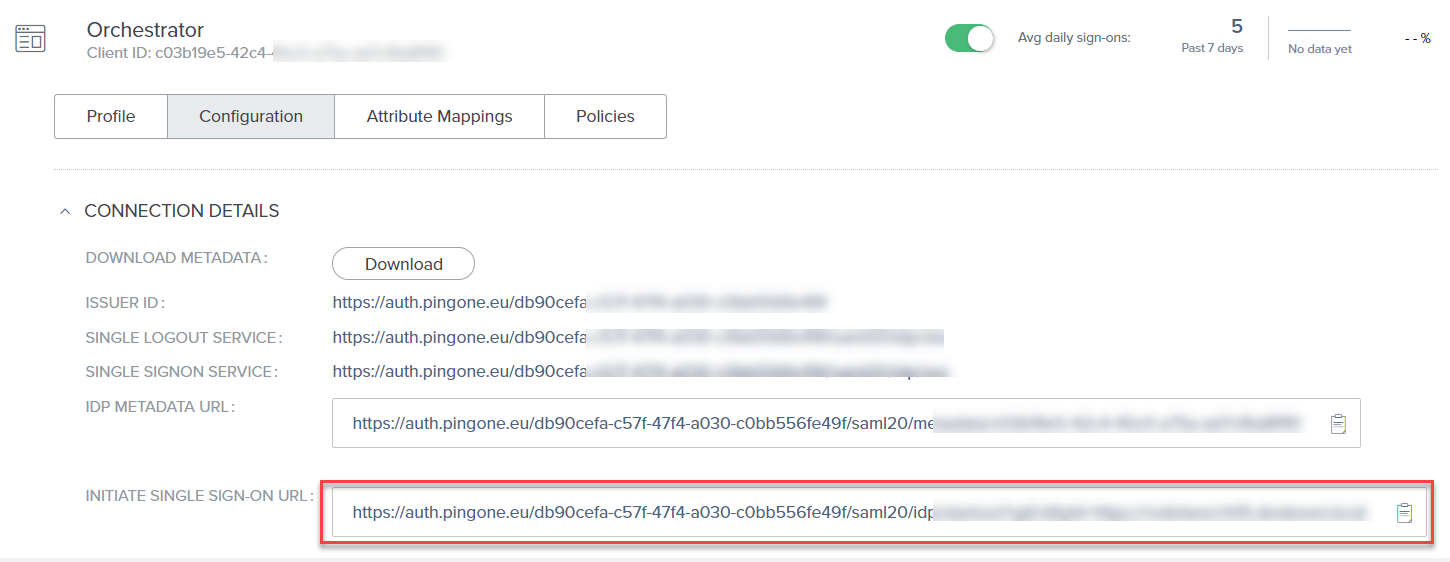
- In the newly opened window, copy the Single SignOn URL.
Set Orchestrator to Use PingOne Authentication
- Define a user in Orchestrator and have a valid email address set on the Users page.
- Set the
ExternalAuth.Saml2.Enabledparameter totruein Orchestrator'sWeb.Configfile.
<add key="ExternalAuth.Saml2.Enabled" value="true" />
- Set the
ExternalAuth.UserMappingStrategyparameter toByUserNamein theWeb.Configfile.
<add key="ExternalAuth.UserMappingStrategy" value="ByUserEmail" />
- Import the signing certificate provided by PingOne to the Orchestrator machine, under Local Machine > Personal Store. See here how to do that.
- Add the following node in the
Web.Configunder theconfigurationnode.
<sustainsys.saml2 entityId="https://orchestratorurl" returnUrl="https://orchestratorurl/Account/ExternalLoginCallback">
    <nameIdPolicy format="EmailAddress"/>
    <identityProviders>
        <add entityId="issuerid" signOnUrl="singlesignonservice" allowUnsolicitedAuthnResponse="true" binding="HttpRedirect">
            <signingCertificate storeName="My" storeLocation="LocalMachine" x509FindType="FindByThumbprint" findValue="thumbprintforpingcertificate"/>
        </add>
    </identityProviders>
</sustainsys.saml2>
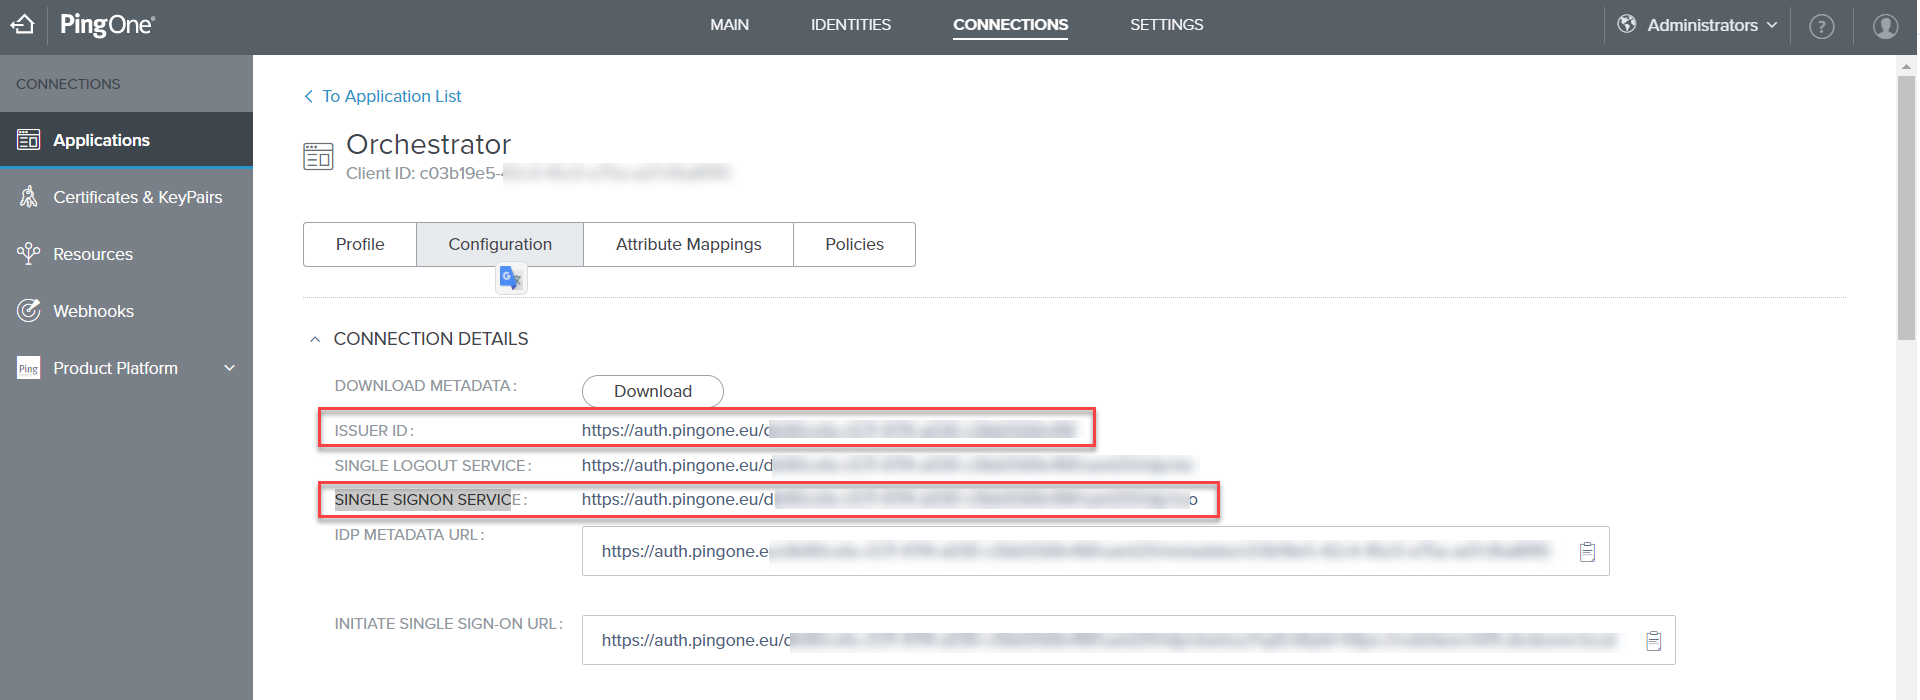
The values for issuerid and singlesignonservice are available in the PingOne console's Configuration page.
Note
Whenever filling in the URL of the Orchestrator instance, make sure it does not contain a trailing slash. Always fill it in as https://orchestratorURL, not https://orchestratorURL/.
Updated 2 years ago