Opening a Project from SVN
- In the Team tab, select Open from SVN. The Open from SVN Repository window opens.
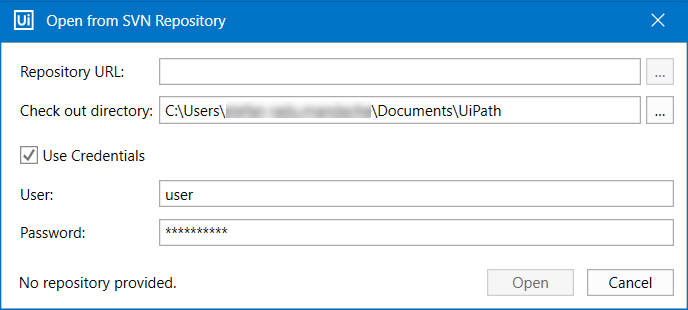
- Type in the Repository URL or use the
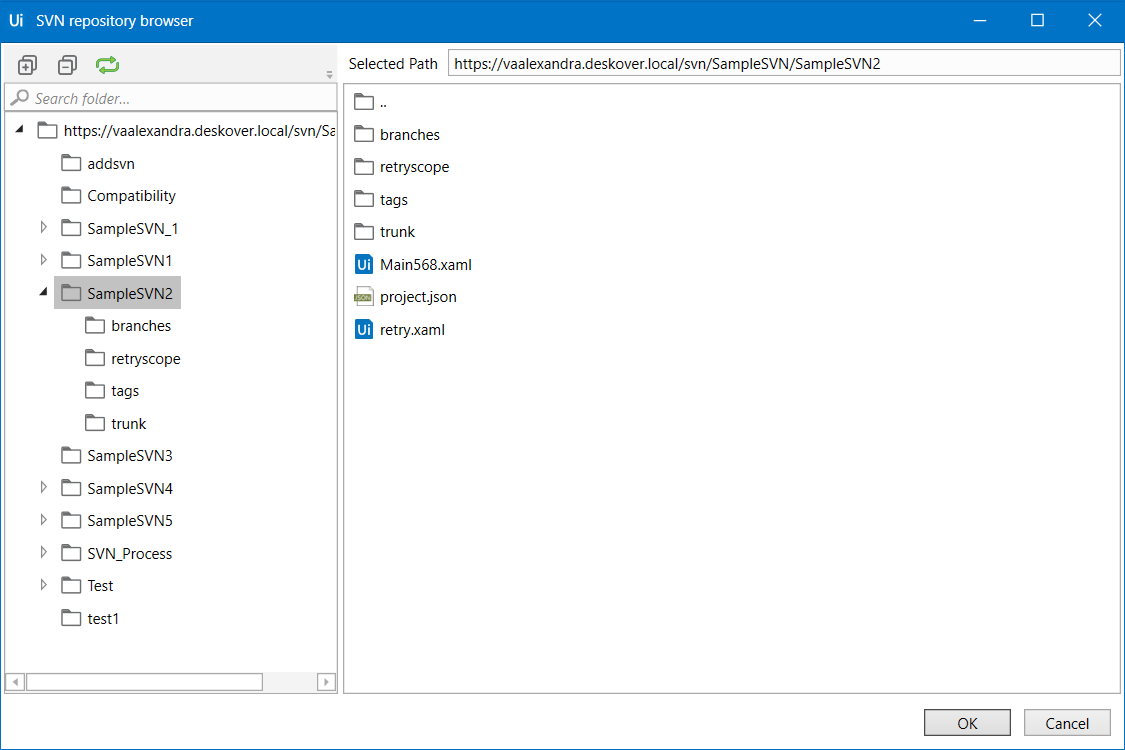
 button to open the repository browser. Expand or collapse folders in the repository, look inside folders, copy the Selected Path or select a file to open. Click OK.
- Pick an empty Check out directory. Select the Use credentials box and fill in your Username and Password. Click Open. The project is now available in the check out directory.
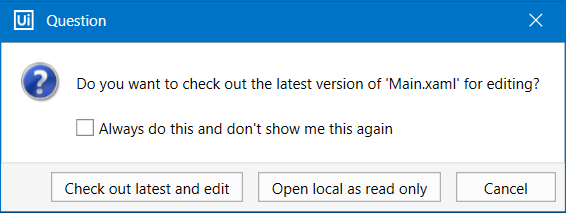
- A Question dialog box is opened, with two options for pulling the
Main.xamlfile from the repository:- Check out latest and edit - opens the latest version of the
Main.xamlfile from the repository, in edit mode. The Break Lock option allows you to check out a project from a SVN repository that was previously checked out by a different user. - Open local as read only - opens the local version of the
Main.xamlfile in read-only mode. The Package Manager can be opened even if the files are in read-only mode, but in order to perform changes and install dependencies, theproject.jsonfile needs to be checked out.
- Check out latest and edit - opens the latest version of the
Selecting the checkbox for Always do this and don't show me this again, and then the Check out latest and edit option propagates your choice for future occurrences. Regardless of your choice, the project.json file still needs to be checked out separately for certain changes to take effect.
Adding a Project to SVN
Note:
Some SVN operations are not directly manageable through Studio. For this, and to ensure optimal compatibility, use a recent version of a SVN client. For TortoiseSVN, versions up to 1.9.7 are supported.
- Create or open a project in Studio from the Start tab in the Backstage view. Click Start > Team > Add to TFS button, or Add to Source Control > Add to SVN shortcut in the status bar. The Add to SVN window is displayed.
- Type in the Repository URL or use the
 button to open the repository browser. Select a file to open. Click OK. Provide a path to the Check out directory. The check out directory must be empty. If applicable, check the Use credentials check box, and type in the User and Password. Click Add to upload the project to the SVN repository.
 - In the Check In Changes window, select the files that you would like to add to the repository and write a Commit Message.
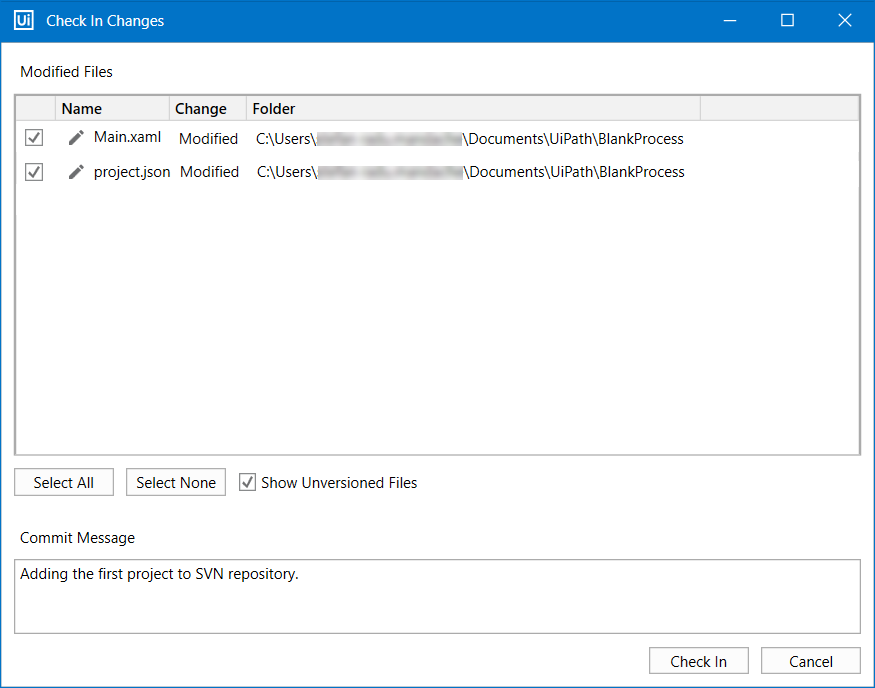
- Click Check In. The files are now available in the repository, together with the Commit message. The
project.jsonfile returns to read-only mode in Studio.
Editing and Checking In Changes to SVN
- Connect one of your projects to your SVN repository.
- Right-click the
.xamlfile and select Check Out for Edit. The latest version of the.xamlfile is mapped locally and opened in the Project panel. It becomes locked for editing until it’s checked in. Perform any sort of changes to the files.
Note:
Once a file is checked out from the SVN repository, it is no longer available for check out by other users with access permissions.
- Right-click the
.xamlfile or project node, and select Check In, or click the icon in the Status bar, which also counts the number of uncommitted changes. The Check In Changes window is displayed.
 - Review the changes and check the Show Unversioned Files box to add imported files to the repository. Write a Commit Message to describe the changes.
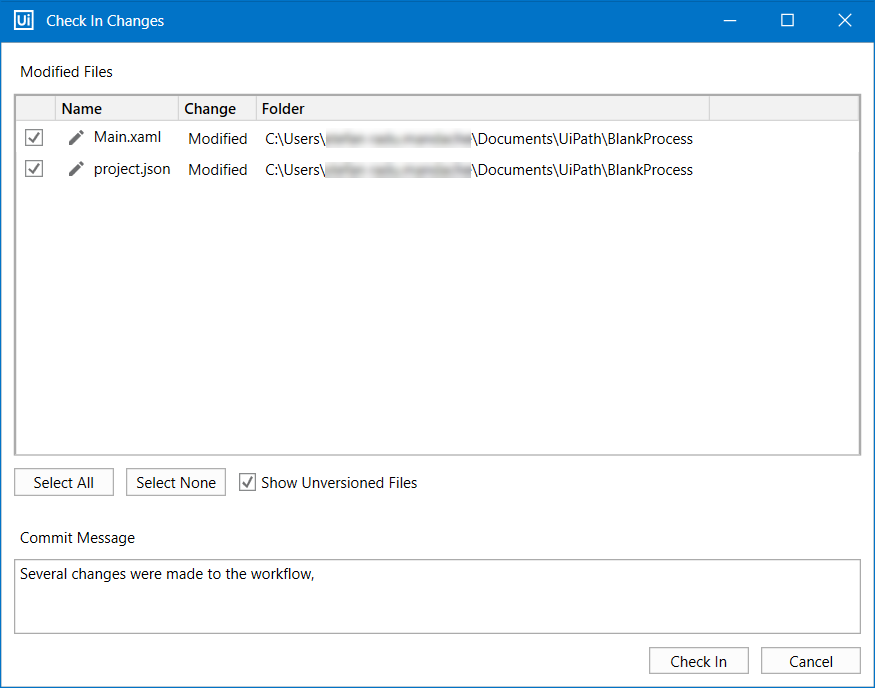
- Click Check In. The latest version is now available in the repository, together with the Commit message. In Studio, the
project.jsonfile returns to the read-only mode. - Click Start > Team > Disconnect to disconnect the current project from source control.
Updated 2 years ago